The exact cook time can vary. Read below for our tips!
For a spreadable appetizer that doesn’t lack flavor, you should try out air fryer roasted garlic!
Easy to make and always a crowd-pleaser, these soft garlic cloves pack a punch and are super versatile.
Recipe Tips/Substitutions
Before you make roasted garlic in the air fryer, have a look through these recipe tips so that you know what to expect!
- We like adding a little bit of oil and salt to the garlic bulbs but you can skip the salt if you prefer.
- Don’t skip the aluminum foil as this will help keep the garlic bulbs from drying out. When you wrap the bulbs in the aluminum foil, you don’t have to scrunch the tin foil tight to the bulb. Leaving a little room – as long as the tin foil is closed – will work fine.
- Your cooking time might vary because of your air fryer and the size of your garlic bulbs/heads. The garlic is done when a fork can easily pierce the cloves. If you’d like your garlic to be slightly more browned, you can leave it in for a few more minutes.
Step by Step Instructions
If you want to make air fryer garlic, you can stay in this section to follow the recipe instructions with photos. This way, you can see just how we make ours.
For the detailed recipe card without visuals, skip to the bottom of this post.
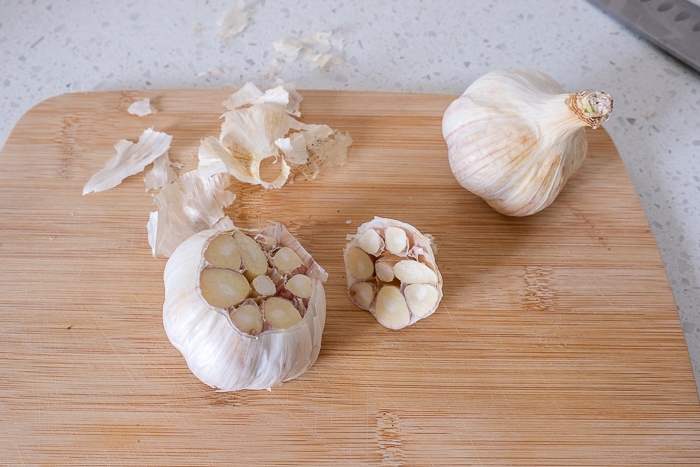
First, remove the loose papery skin on the outside of the heads of garlic.
Then cut the top of the garlic bulbs off so that the cloves are visible and the stem has been cut off.
Next, preheat the air fryer to 380 degrees Fahrenheit.
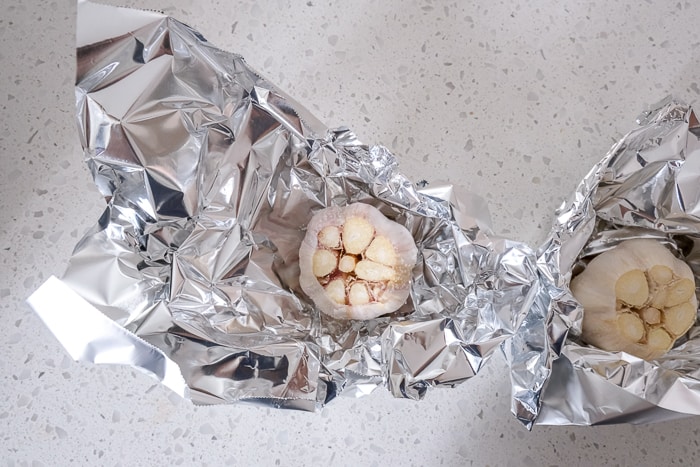
In the meantime, place the garlic bulbs onto a small piece of aluminum foil (one piece of foil per bulb). The foil pieces should be big enough to enclose one bulb each.
Drizzle avocado oil on top of the garlic bulb, then sprinkle salt on top. Finally, close up the foil packet around the garlic bulb.
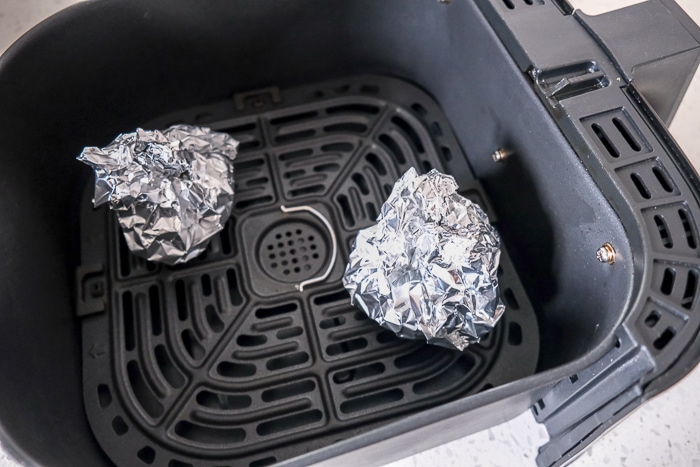
When the air fryer is hot, place the heads of garlic covered in foil into the air fryer tray. Make sure the aluminum foil is not touching the heating elements.
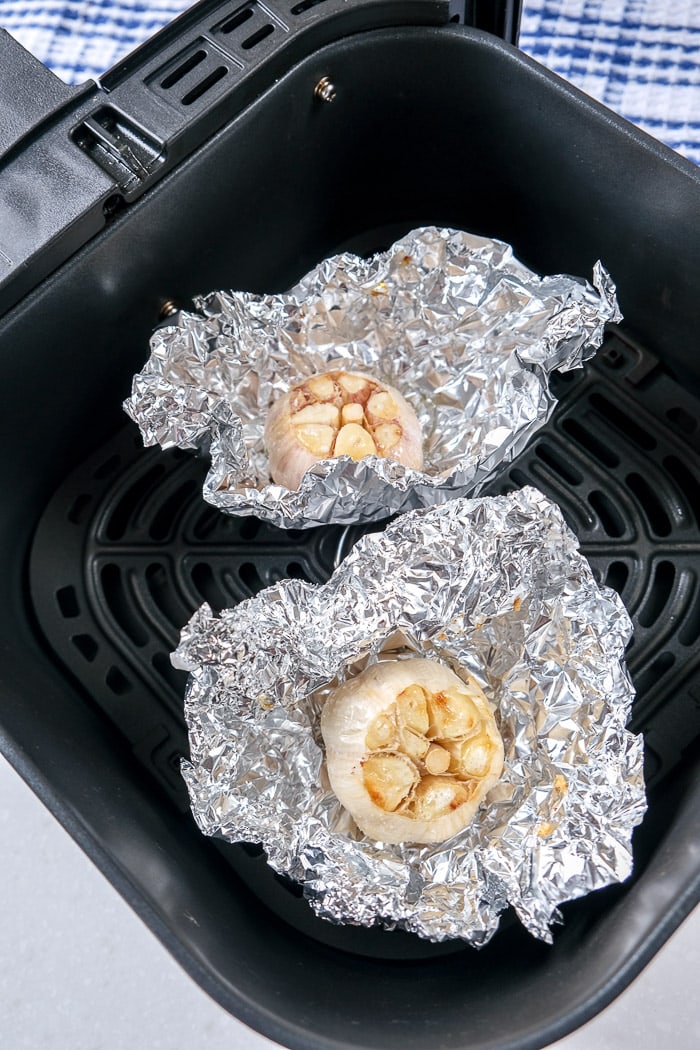
Cook the garlic for 22-27 minutes until soft and slightly browned.
You can check the tenderness of the cloves by piercing a fork into the garlic: if it goes in easily, the garlic is done.
The exact cooking time can vary depending on your air fryer, the size of the heads of garlic, and your personal preference.
When the garlic is done, remove the little foil packets from the air fryer with tongs and let them sit to cool for around 5 minutes (careful hot!).
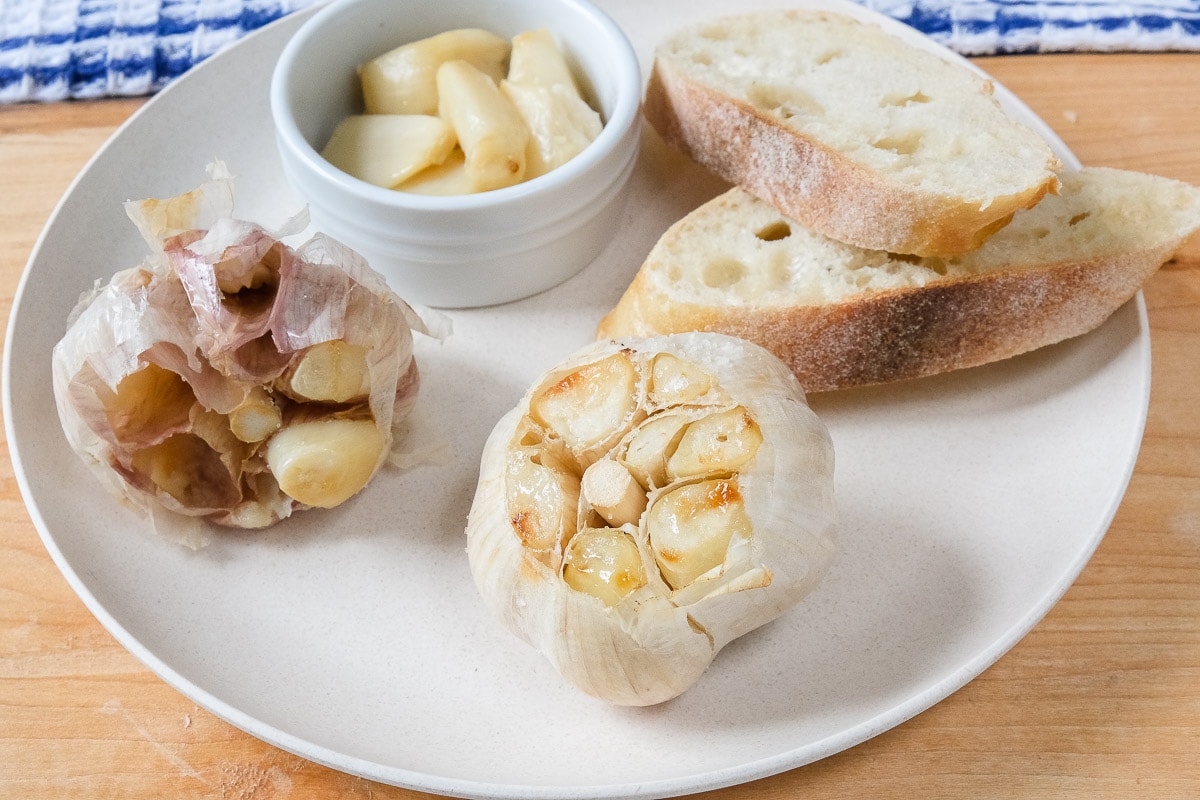
Then open the packets and carefully squeeze out the individual garlic cloves. If the bulbs are still too hot to touch, let them cool further!
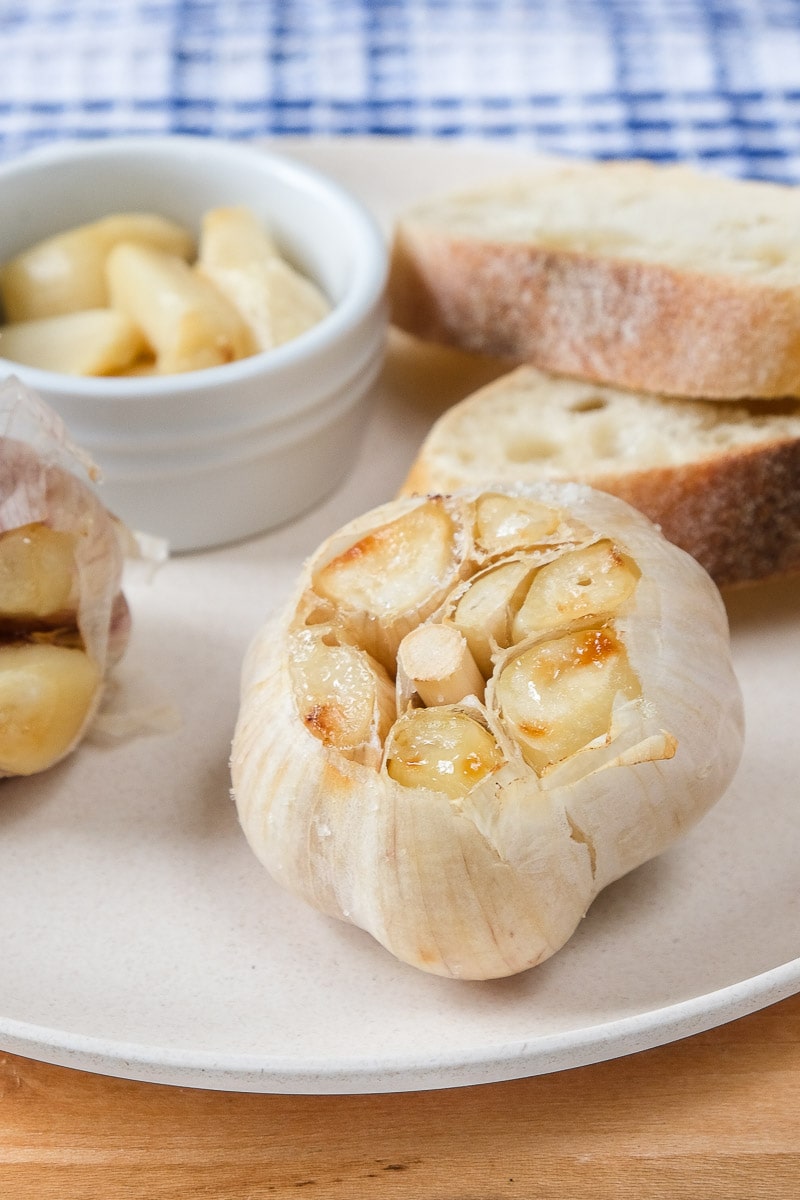
The roasted garlic tastes great when spread on crusty bread like baguette or on crackers. Enjoy!
Storage Tips
Once you’ve made garlic in the air fryer and the bulbs have cooled, you can pop the cloves out of the skin in the bulb.
That said, we’d recommend eating the roasted garlic right away when it’s freshly roasted. You can store leftover roasted garlic in a container in the fridge and consume within 2-3 days to be safe.
Important Note: Do not consume roasted garlic (or fresh garlic, for that matter) that has been stored at room temperature by submerging it in oil – even if it is only a few hours old.
This is because there is a risk of botulism, a serious illness caused by a bacteria in the garlic. Only ever consume garlic in oil that has been immediately refrigerated and, again, consume this mixture within 2-3 days maximum to be safe.
Alternatively, you can also freeze the roasted garlic in a freezer container if you want to keep it for longer. It will last a few weeks like this (when sealed properly to avoid freezer burn). Just thaw the garlic and use right away.
Related Recipes
For more air fryer appetizers that are sure to turn heads and taste buds, you can check out these creations below!
- Air Fryer Artichoke Hearts
- Air Fried Stuffed Mushrooms
- Air Fried Homemade Turkey Meatballs
- Air Fried Buffalo Cauliflower Wings
- Crispy Air Fryer Pickles

Air Fryer Roasted Garlic
Ingredients
- 2 bulbs of garlic
- 2 teaspoons avocado oil
- 1/8 teaspoon salt, more to taste
Instructions
- Remove only the loose papery skin on the outside of the heads of garlic. Then cut the top of the garlic bulbs off so that the cloves are visible and the stem has been cut off.
- Preheat the air fryer to 380 degrees Fahrenheit.
- In the meantime, place the garlic bulbs onto a small piece of aluminum foil (one piece of foil per bulb). The foil pieces should be big enough to enclose one bulb each. Drizzle avocado oil on top of the garlic bulb, then sprinkle salt on top. Finally, close up the foil packet around the garlic bulb.
- When the air fryer is hot, place the heads of garlic covered in foil into the air fryer tray. Make sure the aluminum foil is not touching the heating elements. Cook the garlic for 22-27 minutes until soft and slightly browned. You can check the tenderness of the cloves by piercing a fork into the garlic: if it goes in easily, the garlic is done. The exact cooking time can vary depending on your air fryer, the size of the heads of garlic, and your personal preference.
- When the garlic is done, remove the little foil packets from the air fryer with tongs and let them sit to cool for around 5 minutes (careful hot!). Then open the packets and carefully squeeze out the individual garlic cloves. If the bulbs are still too hot to touch, let them cool further! Enjoy.
Nutrition
This nutritional information has been estimated by an online nutrition calculator. It should only be seen as a rough calculation and not a replacement for professional dietary advice.

I notice that you mention storing the roasted garlic for up to 2 weeks in the fridge. The FDA recommends no longer than 1 week in the fridge to avoid botulism, and other research says only 2-4 days in the fridge for safe storing.
– https://ask.usda.gov/s/article/Can-you-get-botulism-from-garlic-in-oil
– https://www.canr.msu.edu/news/stinking_facts_about_garlic
– https://extension.oregonstate.edu/sites/default/files/documents/8836/sp50701herbsandvegetablesinoil.pdf
Hi Essess, Thanks for taking the time to provide that additional information. Our wording was unclear so we have updated the article to reflect the best practice guidelines for garlic. /Eric